Introduction
In this tutorial, you will learn how to colorize or change hair color using Adobe Photoshop. To do that follows some steps.
Getting Started...
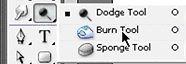
Open the image of which you want to colorize hair then click on the channels tab on the layers palette. Duplicate the blue channel by right-clicking and choosing a duplicate channel on the channel. Click o.k. in the duplicate channel dialogue box. Turn the visibility off of the channels other than the blue copy channel by clicking on the eye icon on the channels palette and start working on the duplicated channel. From tools palette select dodge tool. Set these options for this tool.
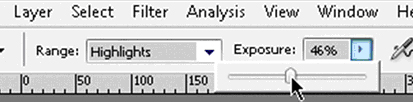
Highlight
Now highlight the image other than the hair. You can also change the exposure of the tool as needed.

Now from the tools palette again select burn tool.
Set the settings for the burn tool range:

Now burn the image using this tool:
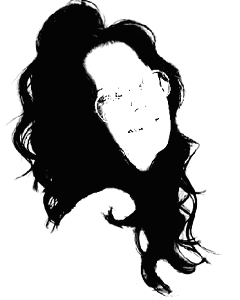
After burning the hair click on the Channel by holding down the Ctrl key. It will make a selection of the channel.
And turn the visibility on of the other channels and click on the layers tab. Press Ctrl J to make a new layer with the selected area and turn the visibility off of the original image.
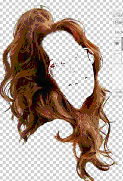
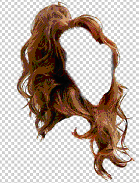
Now use the eraser tool to erase the area other than the hair.
Layers
Now from the layers palette click on the effects button and choose color overlay from the drop-down list.
Set the blend mode to hue and click o.k. turn the visibility on of the original image.
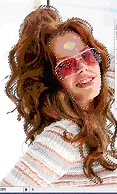
Click on the color box and select your own color for the hair and see the color of the hair has successfully changed to a different color.
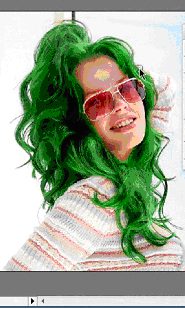
You can also change the hair color to any color you want by clicking on the color box and selecting color from the color picker.
Conclusion
You should now be able to change the color of the hair to whatever color you wish.

This page was published on It was last revised on

